
Have you ever heard of the software methodology Guilt-Driven Development (GDD)? Probably not, because I just made it up. But it describes the origin of LiveGig pretty accurately.
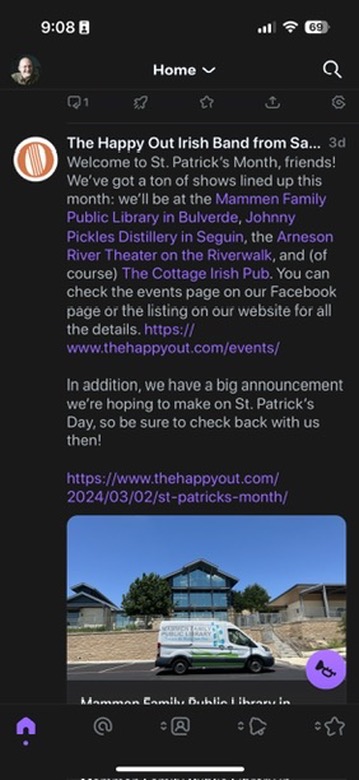
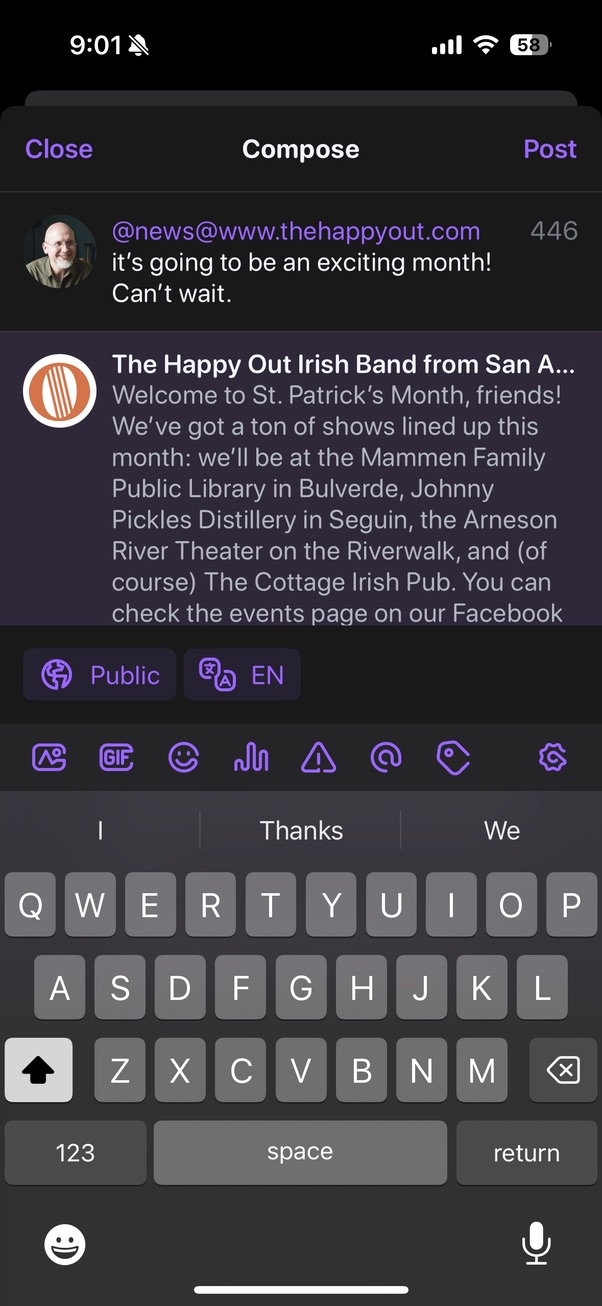
As you might know, I play music with a delightful trio called The Happy Out. We entertain at a lot of different venues, but are most commonly in pubs, where we work really hard to engage with the folks who have turned up to enjoy a pint and some music. One of the delightful things about the cheerful inebriates (and teetotalers!) that we get to entertain is their enthusiasm for requesting familiar songs. These will sometimes arrive in the form of incomprehensible shouted requests, sometimes on illegible beer-soaked napkins, and sometimes blurted out to one of us during a break when we’re on our way to the restroom.
So, it’s challenging to handle these while playing, and nigh-impossible to keep track of them all as well. About the dozenth time I had to apologize to someone for forgetting their request, the idea for LiveGig was born: a web-based, lightweight way to take song requests.
I ginned up some UI prototypes and ran them by my bandmates and Brian Ralph (who plays many of the same stages we do). Brian gave both invaluable feedback and encouragement, and I whipped up a prototype and put it in front of my bandmates in the autumn of last year. After I had used it enough for our shows to find and clean up the most obvious bugs, I turned Brian loose on it. I’ve been steadily working on and improving it since then, and opened it up to new signups back in mid-February.
It has been, and continues to be, great fun to refine and polish it, to do user research with more users, and to see its usage gradually grow.
If you’re a performing musician who takes requests, I hope you’ll give it a try. And if you’re not, I hope you’ll recommend it to your favorite band!